The best Shed Design Software
Shed design software can help you plan out and visualize your ideas for a garden shed, storage shed, home office, spare building, lean-to etc. And then if you follow the ideas that I lay out here then you can develop that model to give you the plans that you need to build from.
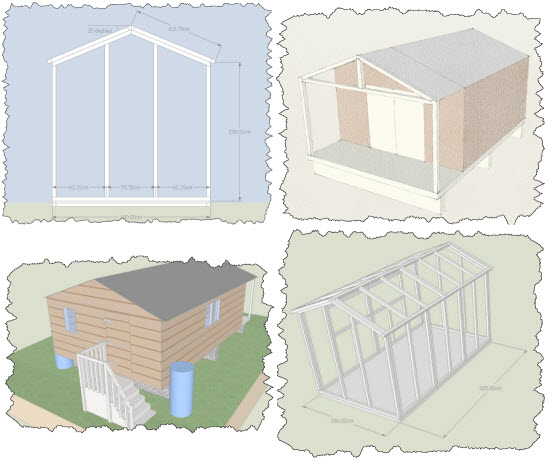 It is important that your shed design software can create a range of outputs from the initial sketch through to construction plans.
If you know you need a new shed in your garden but you are at a loss where to put it, how big it should be and whether or not it is going to be worth your effort to really build, then this shed CAD software could well be the way to break an impasse and move your project forward.
If you have a conceptual idea of how you want your shed to look, then in my opinion you cant do much better than - Sketchup.
SketchUp is a great shed design tool originally created round about 2000. It was bought by Google in 2006 and then sold to its current owners, Trimble Inc in 2012.
In contrast to many other design software packages Sketchup has a really easy to use interface. This means that you won't have to spend ages learning different commands before you can create useful models. Sketchup was designed from the start to be easy to use and very quick to learn.
The other great thing about Sketchup is that there is a free version of the software that you can download from the link above. What is more the free version has more than enough functionality to create a model of your shed and the plans you need to build it.
There is of course a 'Pro' version which is paid for, lurking in the background. But the functionality you get with that benefits mainly those in the building design business who need to share models across teams and make presentations. For our purposes and what I will show you, the FREE version of Sketchup is more than enough.
As an introduction to what is possible with Sketchup let's take a quick look at a project where I used this shed design tool
In this article I will show you how I use Sketchup to create shed designs and plans in a three part process.
- The first stage is to come up with a really simple 'rough' design for the size and shape
- The second stage is to develop that design with the input of others involved to come up with a more refined design
- The final stage is to work that refined design into construction drawings that you will use in the workshop or on-site to get your shed built.
1. The first stage with any project is to create a rough outline of the size and shape building that you want.
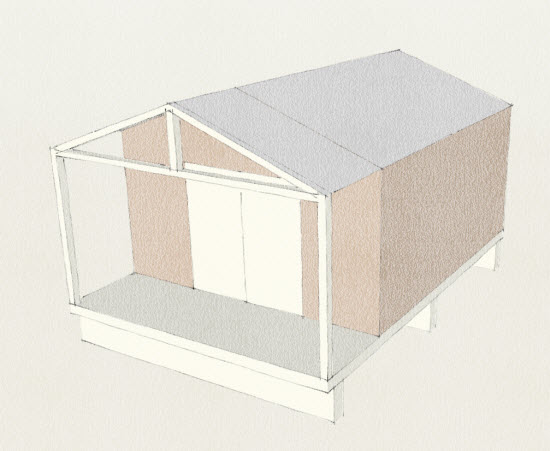 Outline pencil sketch with block colours for preliminary design
2. As you show the outline design to others in your family they will inevitably come up with suggestions. As you can see in the next picture (from the other end of the shed), windows, an external staircase and waterbutts were added to the design.
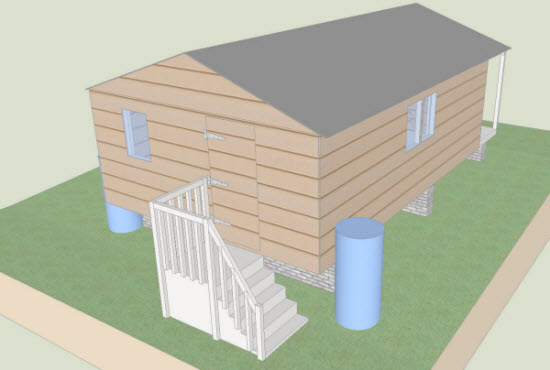 More detailed design. Textures added to grass, roofing and cladding. Steps, see through windows and water butts added. (This time viewed from the opposite end)
3. The next stage is to create 'fabrication drawings'. These detail each panel in the shed showing the dimensions that you need to build them
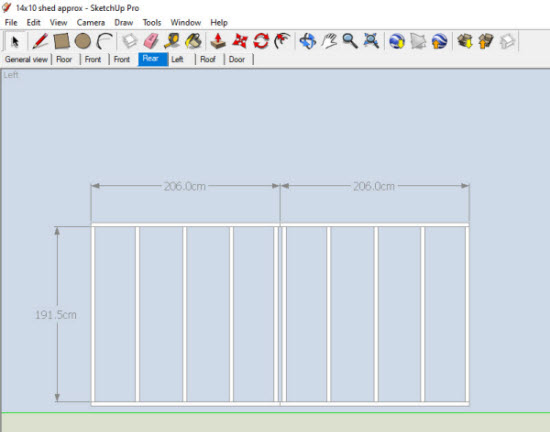 Detailed fabrication drawings made from the model. Dimensions show the size of panel and lengths of panel members.
The finished shed (see picture below) bears a remarkable likeness to the initial sketch. This gives you a lot more confidence about how your shed will look in the garden and whether or not your family will like it. They will have the chance to see what it will look like even before you start hammering boards and nails together.
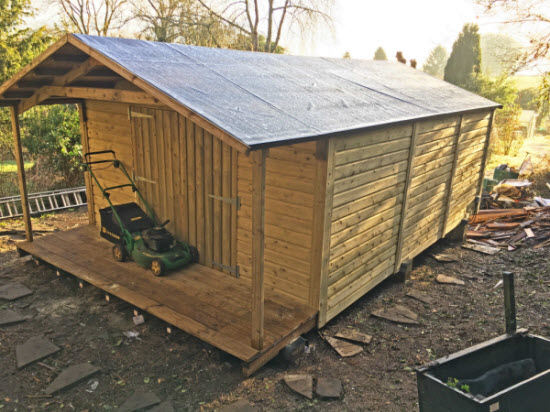 The final result. Bearing a remarkable resemblance to the original pencil sketch.
So let's look at the first two phases in this process
The first is the Conceptual Design which includes elements such as: the style of the shed; the size; trim; interior needs; exterior needs; electricity; heat and air.
Second is the Detailed Design that covers all of the construction details, shed blueprints, connections for the material, and electrical wiring if it is being included.
Let's look at these two stages in more detail, then I'll move on to some steps to make getting started with Sketchup a lot easier.
Using Sketchup as a conceptual shed planner
This is a great way to start getting a feel for your new building and it allows you to play with numerous styles and options until you get your shed the way you want it.
Don't put too much effort into the details at this point. We don't want you getting too 'invested' in any particular option until you have got some input from others who will be using, or are impacted by your shed.
You might be wise to create several options and create a 'talent contest' to see which shed design comes out on top!
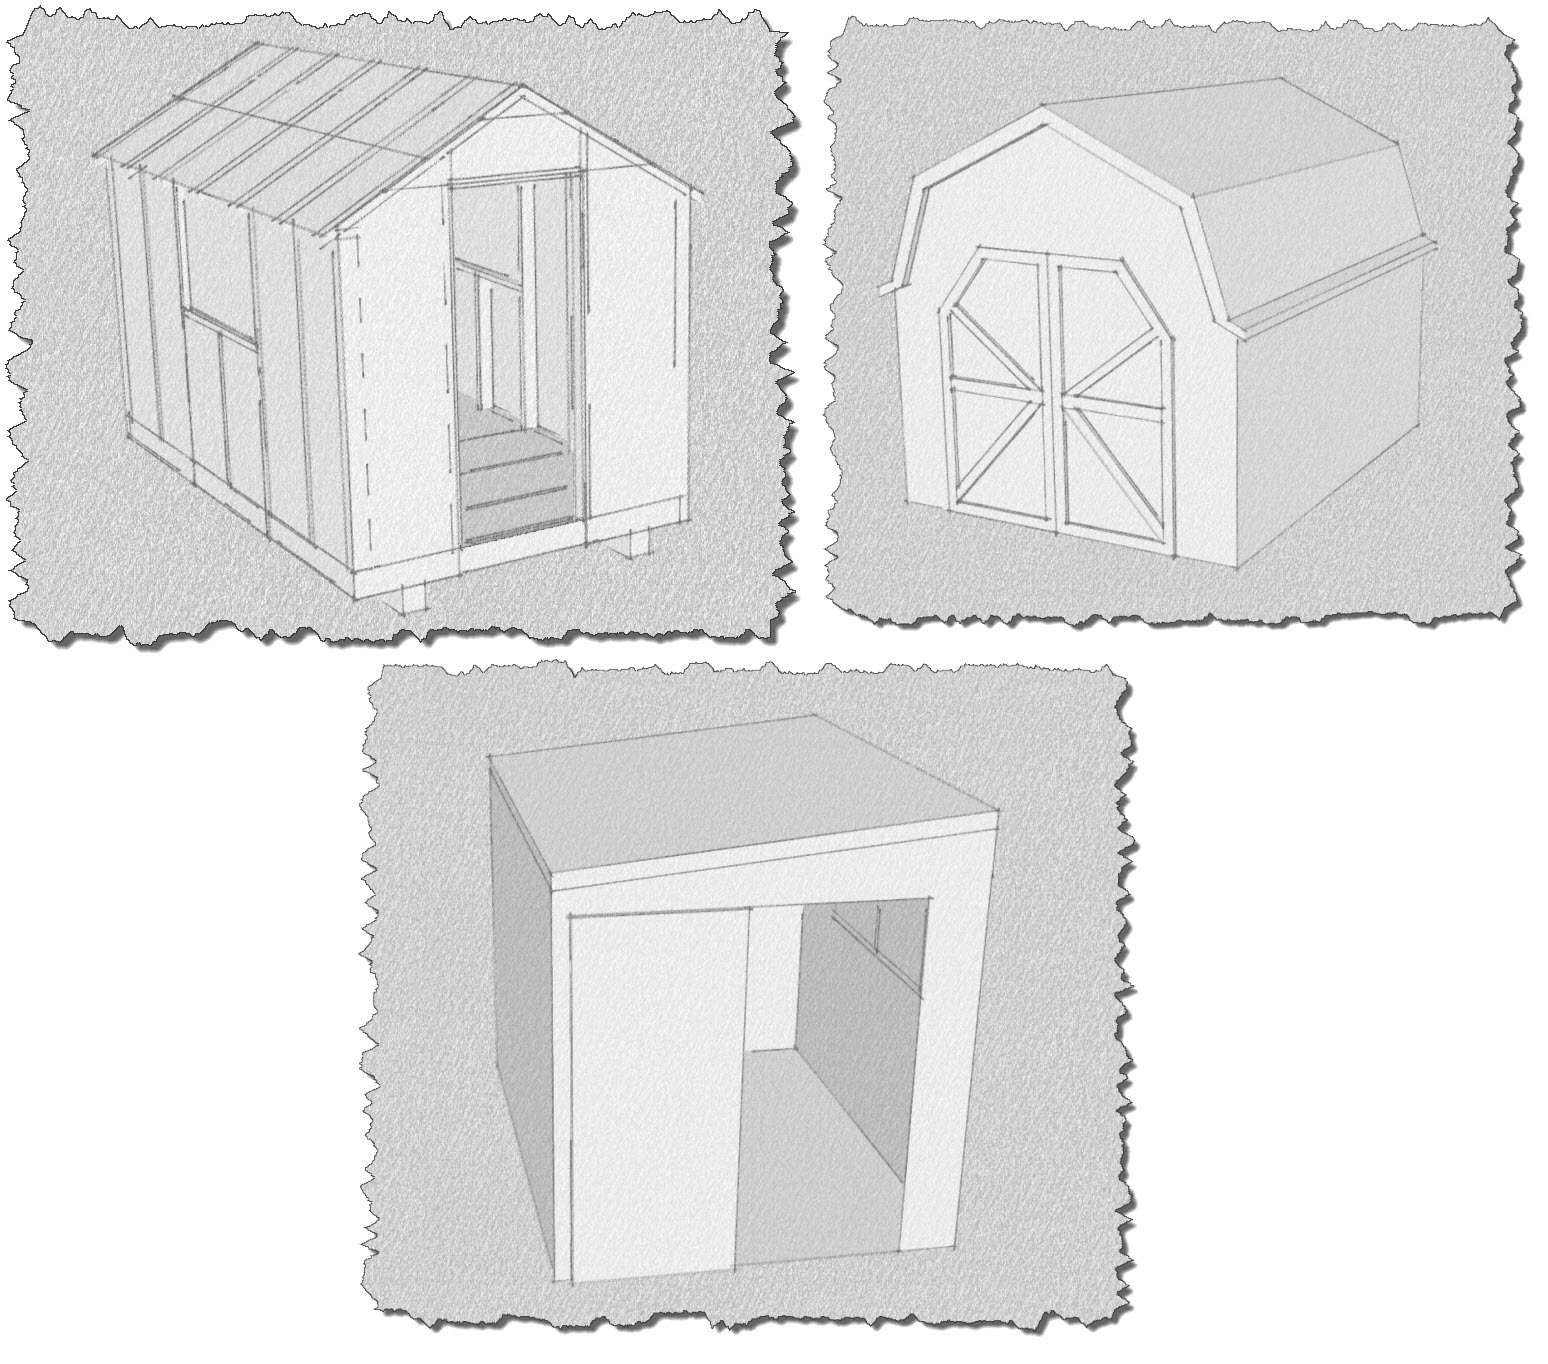 Create a board with two or three of your favourite sketch designs to which others prefer
Alternatively you can download into SketchUp sheds of all types from a site known as the 3D Warehouse. In the 3D Warehouse there are freely downloadable models of a wide range of structures (not just sheds) you can use and manipulate them to see how they work in your garden.
Using Sketchup as detailed CAD software
Once you have decided on the style, size, where you want to locate your shed and what you want to include in the design. Items such as guttering, ramps etc. You can then develop your model so that you get a really good idea of what the shed will look like.
In Sketchup you can add textures and colours to surfaces. You can make the windows transparent and add all sorts of extras to give a real virtual experience of what the shed will look like.
It is possible to get many of these items from the 3D warehouse, so you don't need to develop them yourself. In the following pictures I used items from the 3D warehouse to give a really good idea of a shed with lots of bells and whistles. This is where using Sketchup as a shed planner comes into its own to check how your workbench and lawnmower will fit in!
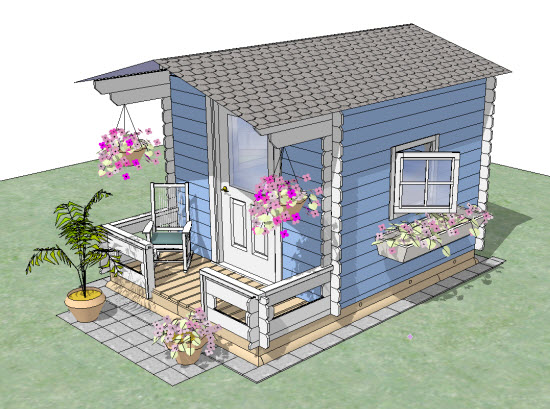 This shed has been developed much further than the basic 'pencil sketch' outline.
Four reasons why Sketchup works well as Shed Design Software
1.0 Sketchup works for all dimension systems. So, it doesn't matter if you work best in feet and inches or you prefer the metric system. You can even adjust the accuracy of the program so that it reflects the size of component you want to work to.
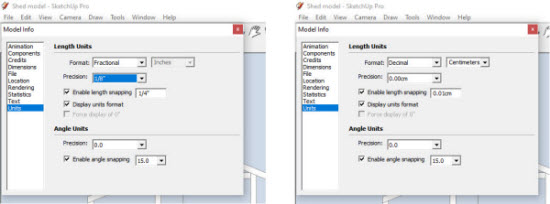 By clicking on the 'window' tab you can select your preferred dimension system and also the degree of accuracy that you need.
2.0 You can build items of any size. Sketchup works for small woodworking projects up to re-planning your neighbourhood, town or world. This is one of the reasons that Sketchup is so good for seamlessly planning the big picture outline design of your project and then for working up the detailed design of the construction components.
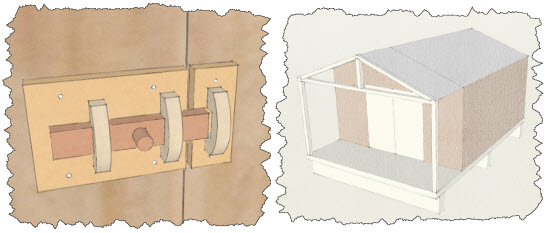 Sketchup works for items of any size. From a shed door catch to a complete shed (or even city!)
3.0 Sketchup allows lots of levels of presentation. From literally making your design look like a pencil sketch when you first present your design. To adding semi-realistic textures and colours to each element as you fine tune your finished presentation design.
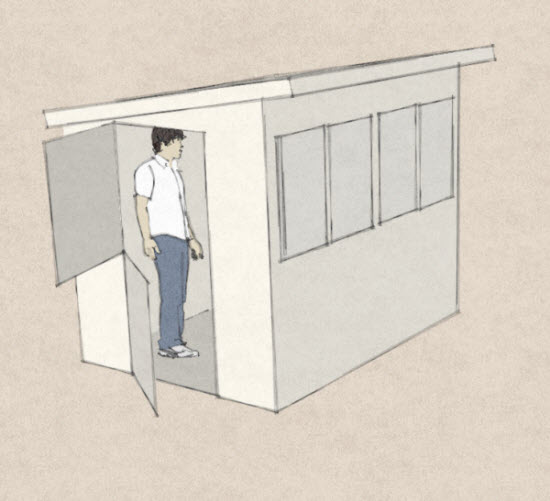 A preliminary sketch showing the size, shape and layout of a pent shed
4.0 When you build your model, it is built to full scale. The benefit of this is that you can then test your shed design dimensions by passing through a person of the same height as you (to make sure that they don't bang their head on the door frame). And make measurements to check that the mower will fit or to confirm that there is room for you and your new work bench.
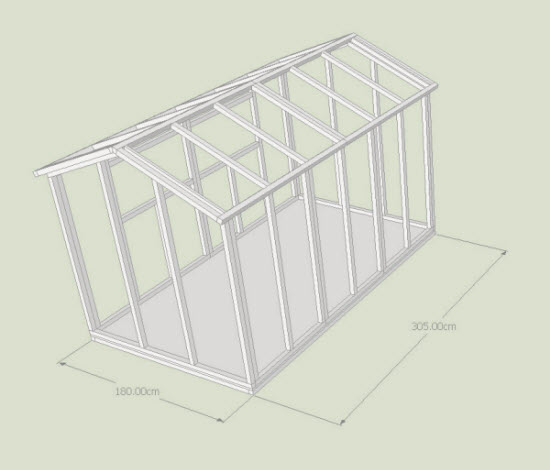 View of shed framework with cladding hidden to show structure.
Moving on from general points about Sketchup. Using Sketchup as a free shed design software will most likely have all the functionality that you need to design your shed. So, as you got the software for free it is worth spending a little (and I only mean about $20) to get the most out of it. I bought Google Sketchup for Dummies, which is written by Aidan Chopra who worked for Sketchup at the time. I found it an excellent introduction to the software and it quickly enabled me to get building quickly and accurately
5 Tips to get you started using Sketchup to design your shed
1.0 Firstly, it really is easy to use. The first step is to draw a 2-dimensional square or rectangle then you can use the pus/pull tool to bring the component into the third dimension. All components are initially built using variants of this technique.
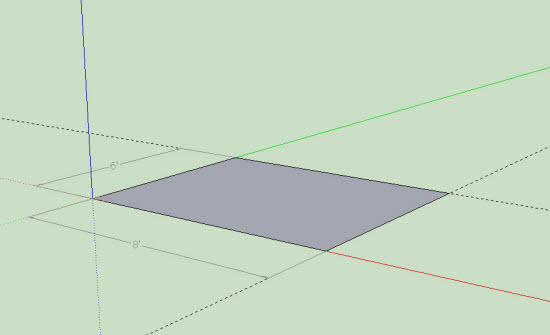 The basic element for many components is a simple rectangle
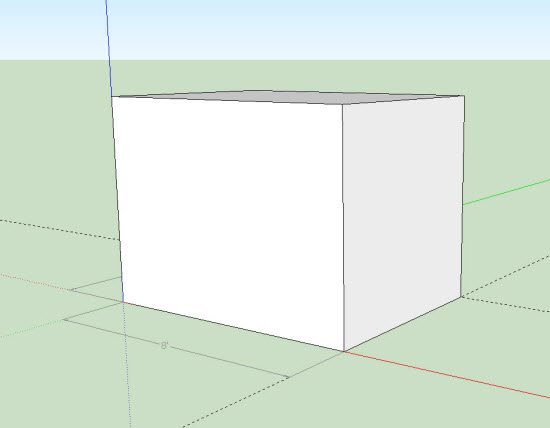 The rectangle is pulled into the third dimension using the 'push/pull' command to create the main body of the shed.
2.0 The initial geometry that you build is 'sticky'. If you were to grab the corner of the cube that you just built in item 1 and move it you would see that the whole shape distort. This makes it easy to change items, but it can also be awkward if you have draw two intesecting parts. The key here is to learn early on to make 'groups'. This means that you can put lots of parts together to make your shed. And then moving one-part won't put the whole thing out.
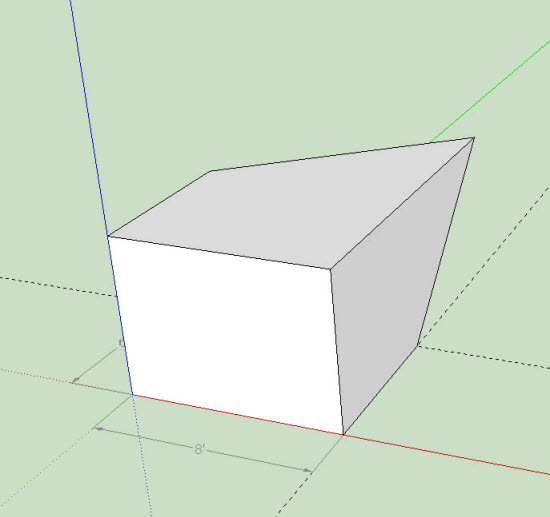 The 'sticky geometry' means that pulling on one corner of the shed distorts the shape.
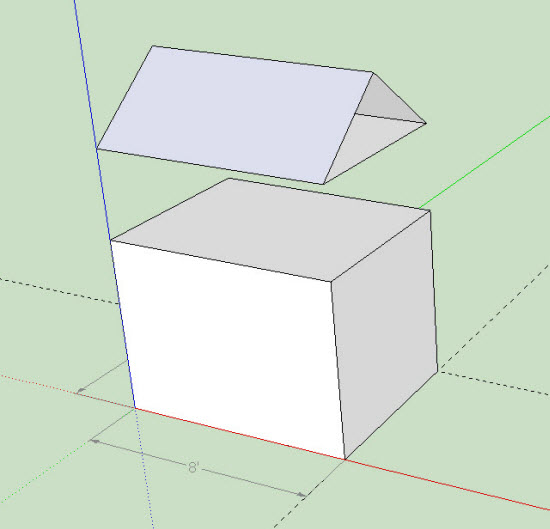 Using the components command and creating a second shape allows components to be added together to create a model of the shape that you need,
3.0 As you learn commands and how to build a model, also learn the keyboard short cuts for each. These keyboard short cuts really allow you to speed up your design and cut down on mental fatigue. A big step towards Sketchup mastery.
List of sketchup shortcuts
- M = Move
- T = Tape Measure
- Q = Rotate Model
- P = Push/pull
- E = Erase
- O = Orbit
4.0 As your skill develops look to methods such as copy, rotate, array and flip to improve your productivity.
5.0 Use scenes function to save your favourite views. This can be front, left, right top etc.
 Screenshot showing panel drawing for the rear of a shed. Clicking on the other tabs along the top takes you quickly to the view you need.
You can also animate your project by saving views with different visibilities and styles(But I will save that for another day!).
However, that is my enthusiasm getting the better of me. Just get started with Sketchup and you will quickly have a useful model to start your build.
Final thoughts
Try using Sketchup as your Shed Design Software. It is quick to learn, easy to use and best of all it is free for the sort of design that we are looking at!
Buying an inexpensive guide to the software such as Sketchup For Dummies will be a big help in getting the most from your software.
Design of your shed using Sketchup as a shed planner is a three stage process;
- Outline design
- Detailed design
- Fabrication drawings
Using Shed Design Software such as Sketchup is the easiest way to accomplish your goal and you will be able to assure yourself that your shed will fit perfectly in your beautiful garden.
Related posts:
- Look at a wide range of shed designs many created in Sketchup
- Find out more about the range of shed foundation options
- How to build a strong and watertight roof for your shed

Keep in touch with our monthly newsletter
Shed Building Monthly


